Sourdough Baguettes
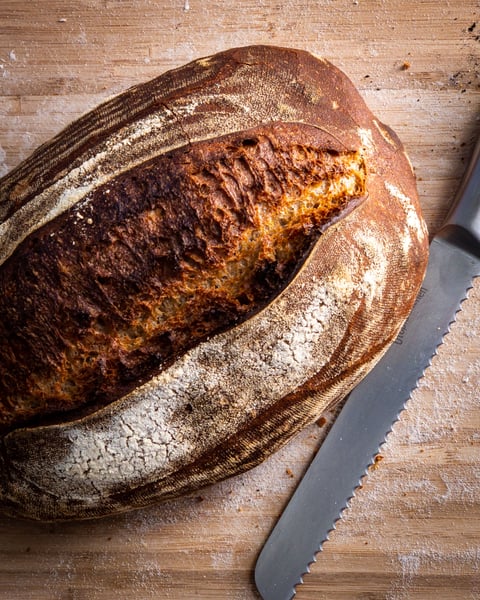
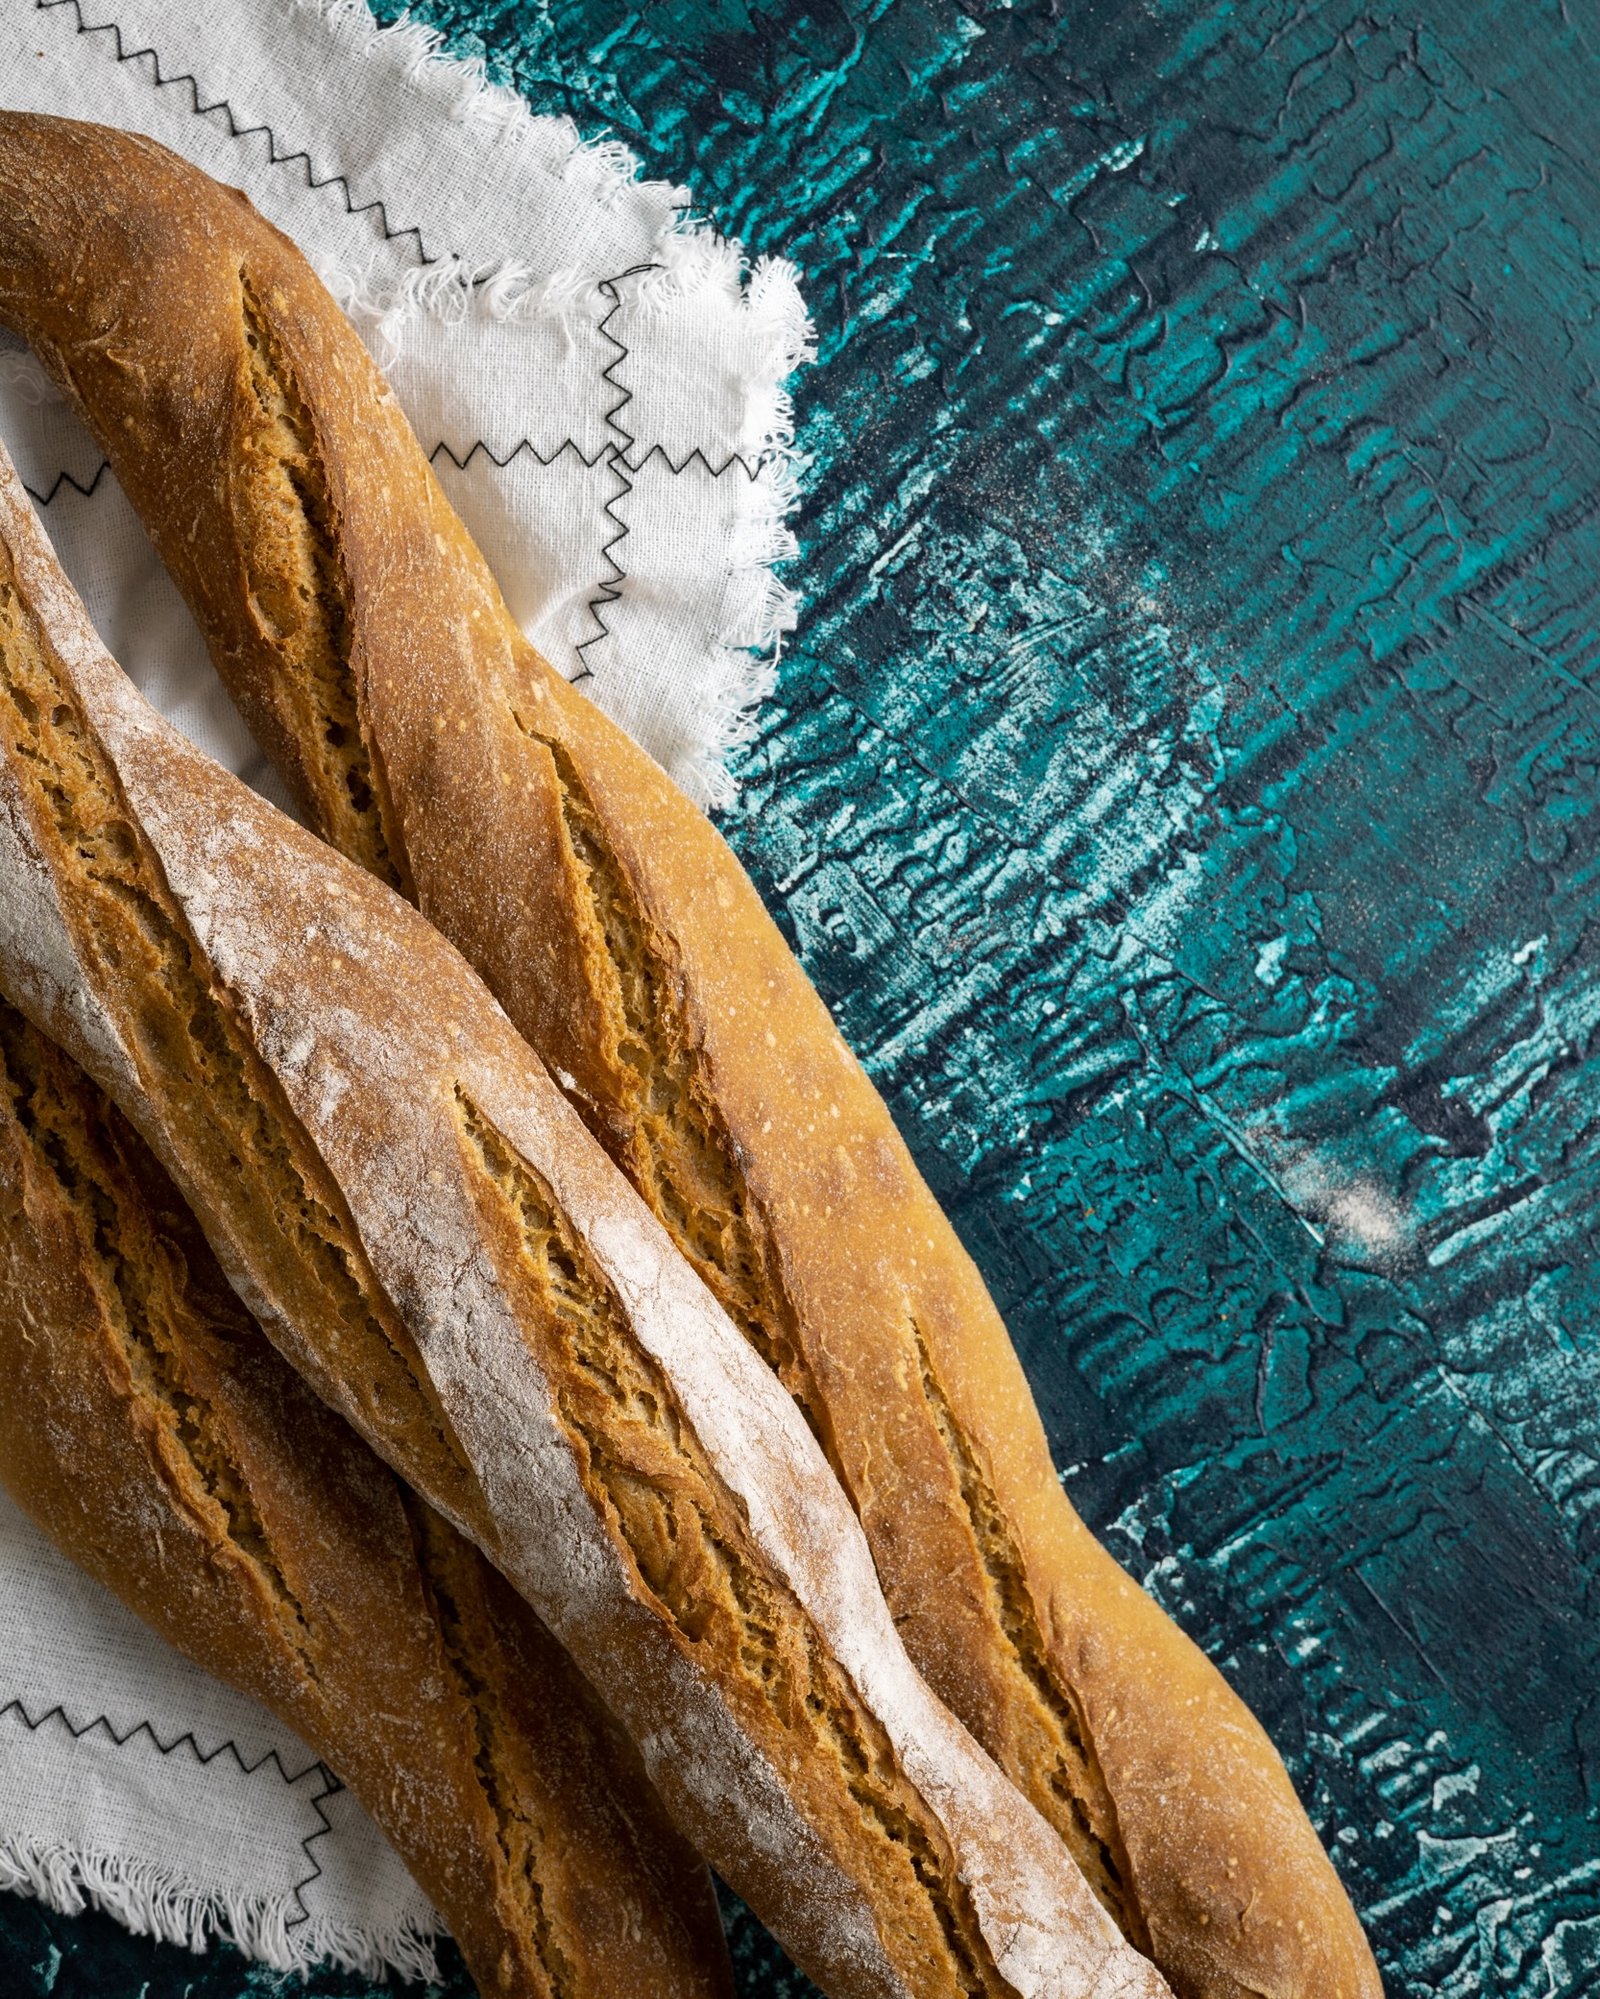
These sourdough demi-baguettes deliver all the flavour and texture of traditional French baguettes in a more manageable size for home baking. The shorter length makes them easier to handle during shaping and fits comfortably in most domestic ovens, whilst still achieving that coveted crispy crust and open, airy crumb.
Successful baguette-making relies on proper fermentation timing and gentle handling throughout. Unlike a standard sourdough loaf, baguettes require a different approach to shaping and scoring, with particular attention to creating surface tension without overworking the dough. The dough benefits from longer, cooler fermentation, which develops the complex flavours characteristic of good sourdough.
As with all sourdough recipes, timing is crucial, so planning your baking schedule is essential. The dough needs careful attention during final proving, as baguettes can quickly overproof due to their elongated shape. Makes 3 demi-baguettes.
Ingredients
Leaven
- 30g strong white unbleached bread flour
- 30g water at 28–30ºC
- 40g active sourdough starter
Dough
- 350g water at 28–30ºC
- 100% leaven
- 300g strong white unbleached bread flour
- 200g unbleached all-purpose flour
- 10g salt
Method
- Start by combining all the leaven ingredients in a small jar or the bowl you plan to use for mixing the dough later. Leave for approximately 2–4 hours until there is a sign of fermentation activity. You will see some air bubbles forming. If you are unsure if it is ready, take a tiny amount and place it in some water, and if it floats, it’s ready.
- Once your leaven is ready, it is time to mix the dough. In a large mixing bowl, combine the leaven and water, mixing with your fingers until most of the large bits have broken down. Then add in both types of flour and use your hands to mix until all the flour has been absorbed. It should look like a scraggly mess. Leave the bowl covered with a damp cloth or some plastic wrap for an hour for autolysis to occur.
- Sprinkle the salt evenly across the dough. Using your thumb and forefinger, pinch the dough until the salt has combined into the dough. Stop when you feel the dough tightening and it becomes harder to pinch. Leave the bowl covered for half an hour.
- Dip your hands in a bowl of room temperature water, then gently grasp the underside of the dough at one side of the bowl, stretch it slightly and fold it over towards the opposite side. Repeat, working your way around the bowl, 4–8 times, until you feel the dough tightening and firming up. This step needs to be repeated three times with a half-hour pause after each series of stretches and folds. After the last series, leave the bowl covered until the dough has risen by about a third. This should take approximately an hour, but maybe longer or shorter, depending on the ambient temperature and how active your starter was.
- Once the dough has risen, place the bowl in the refrigerator for 12–24 hours before moving on to the next stage. This is known as retard, or “cold proving”.
- The next morning, remove the dough from the refrigerator and place it on a lightly floured work surface. Divide the dough into three and fold the doughs over themselves several times using a bench scraper, before turning them fold side down. Work your way around the dough, tucking in the edges under themselves, using the bench scraper to make the dough taught. If the dough scraper is sticking to the dough, use some flour on the bench scraper. Leave the dough uncovered on the bench for 15–30 minutes.
- Liberally dust a baker’s couche with flour. I like to use a combination of bread flour and rice flour. This will prevent the dough from sticking to the basket. Take one end of the couche and roll it up a little to create a strong edge.
- Dust some bread flour over your work surface and on your resting dough. Loosen the dough from the surface using your dough scraper and flip it over so the floured top is facing down. Gently grasp the top edge of the dough round and fold it down halfway down the dough. Give it a gentle tap to help it stick, being careful not to knock any gas out of the dough. Now turn the dough around 180º and again take the top (which was the bottom) down to the middle and give it a gentle tap. Fold the dough again, this time all the way, using your thumb and the heel of your hand to seal the seam as you go. Work along the dough in stages. Turn the dough around and repeat the other way. Use your fingers to pinch the seam a little to ensure it is completely sealed. Turn the dough so the seal is on your work surface. Gently roll from the centre, trying not to knock out too much air, lengthening the dough as you roll, tapering the ends slightly. Place your baguette into a baker’s couche until ready to bake. You can watch a video on the shaping process here.
- Once you have shaped a piece of dough, place it next to the rolled-up edge, seam side up. Then, pick up and move a small amount of the couche towards the dough to form a channel that will hold the dough while it is proofing. Repeat the shaping process with your other pieces of dough, each time placing them next to the lifted couche. Once you have finished, lift the remaining couche over the top of the demi-baguettes to help prevent the dough from drying out.
- Let the dough proof for approximately 2 hours. You’ll know when the dough is ready if you poke one of them gently and it springs back slowly, not filling back all the way. If it springs back quickly, it’s underproofed. If it never springs back, it’s overproofed.
- About an hour before it’s time to bake, preheat your oven to 230ºC/450ºF with firebricks or a pizza stone on the middle shelf. Line your pizza peel with baking paper, cutting it to fit the width of your baking surface. Grasp the couche at one end and draw it away, separating one piece of dough from the others. Position your dough transfer board (a chopping board works well) alongside the baguette, placing it on the edge nearest to the remaining dough. Now, holding the couche firmly, give it a swift upward tug to flip the dough over the transfer board and onto the peel. The baguette should land seam-side down on the board. Continue with this method until all three pieces are arranged on the peel. Use a baker’s lame to score the dough with long diagonal overlapping slashes.
- Use the baking paper to launch the dough onto the firebricks/pizza stone and bake for 20 minutes. Adding steam to your oven will drastically improve results.
- Vent the oven and remove any steam-producing tools from the oven. Turn the temperature down to 210ºC/410ºF and bake for a further 15–20 minutes.
- Once your baguettes have finished cooking, use the pizza peel to remove the bread from the oven and leave it to cool on a cooling rack.