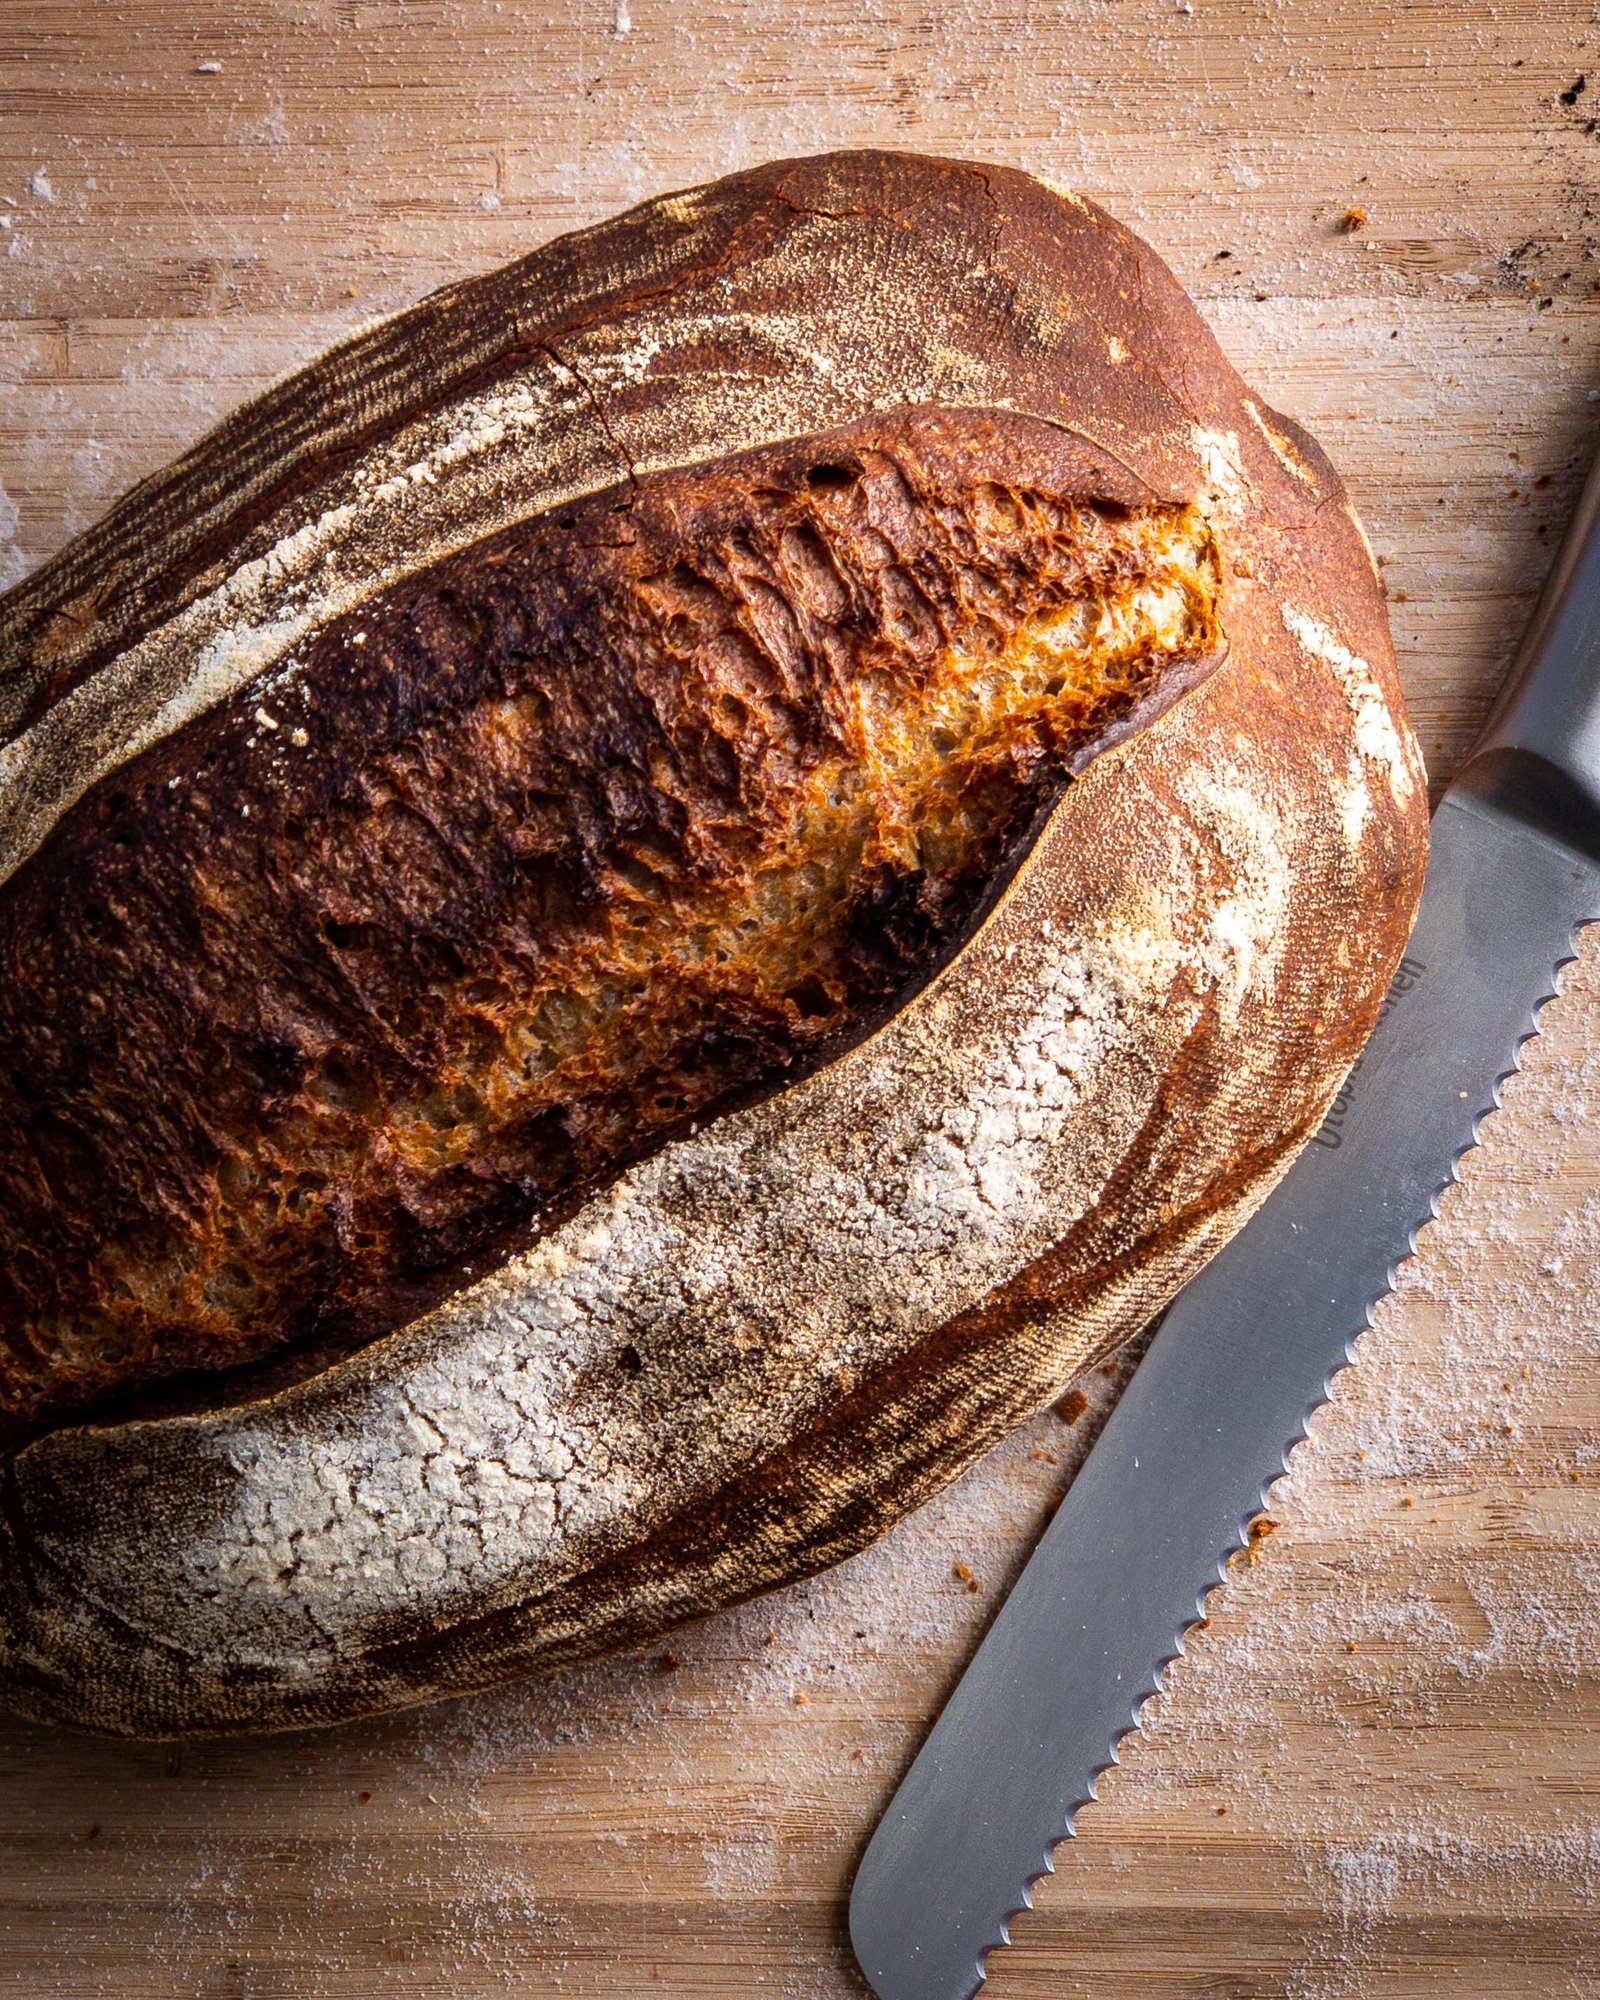
Everyday Sourdough Loaf
This is the fundamental method I apply to pretty much all sourdough baking. Although I often choose to mix different types of grain in varying quantities, this is the basic bread recipe that we eat regularly. As with all sourdough recipes, keeping track of timing throughout the long fermentation is crucial. You may find it easier to write down a plan for your baking schedule before starting.
While this recipe doesn't require the use of a stand mixer or other expensive machinery, some key tools will aid you in the process. The ideal room temperature for fermentation is approximately 24ºC/75ºF, so finding somewhere warm to keep your dough is ideal; otherwise, the dough may take longer to rise in each stage. Depending on the flour used, you can vary the hydration level to your preference. For beginner bakers, keeping the water level low will make the dough easier to handle. Adding steam to your oven during baking, while not necessary, will improve results.
Ingredients
Leaven
- 15g wholegrain spelt flour
- 15g strong white unbleached bread flour
- 30g water at 28–30ºC
- 40g active sourdough starter
Dough
- 375–425g water at 28–30ºC
- 10g salt
- 100% leaven
- 150g wholegrain spelt flour
- 350g strong white unbleached bread flour
Method
- Start by combining all the leaven ingredients in a small jar or the bowl you plan to mix the dough in later. Leave for approximately 2–4 hours until there is a sign of fermentation activity. You will see some air bubbles forming. If you are unsure if it is ready, take a tiny amount and place it in some water, and if it floats, it’s ready.
- Once your leaven is ready, it is time to mix the dough. In a large mixing bowl, combine the leaven and water, mixing with your fingers until most of the large bits have broken down. Then add in both types of flour and use your hands to mix until all the flour has been absorbed. It should look like a scraggly mess. Leave the bowl covered with a damp cloth or some plastic wrap for an hour for autolysis to occur.
- Sprinkle the salt evenly across the dough. Using your thumb and forefinger, pinch the dough until the salt has combined into the dough. Stop when you feel the dough tightening and it becomes harder to pinch. Leave the bowl covered for half an hour.
- Dip your hands in a bowl of room temperature water, then gently grasp the underside of the dough at one side of the bowl, stretch it slightly and fold it over towards the opposite side. Repeat, working your way around the bowl, 4–8 times, until you feel the dough tightening and firming up. This step needs to be repeated three times with a half-hour pause after each series of stretches and folds. After the last series, leave the bowl covered until the dough has risen by about a third. This should take approximately an hour, but maybe longer or shorter, depending on the ambient temperature and how active your starter was.
- Once the dough has risen, it’s time to pre-shape the dough. This helps with good crust development and also makes the dough easier to shape by creating a taut skin while letting the dough relax before final shaping. Remove the dough from the bowl, place it on a lightly floured surface, fold it over itself several times using a bench scraper, before turning it fold side down. Work your way around the dough, tucking in the edges under itself, using the bench scraper to make the dough taught. If the dough scraper is sticking to the dough, use some flour on the bench scraper. Leave the dough uncovered on the bench for 15–30 minutes.
- Liberally dust a proving basket with flour. I like to use a combination of bread flour and rice flour. This will prevent the dough from sticking to the basket.
- There are many different ways to shape a loaf of bread. Here I will outline how to shape a boule: Dust some bread flour over your work surface and on your resting dough. Loosen the dough from the surface using your dough scraper and flip it over so the floured top is facing down. Gently grab the top edge of the dough and fold it inwards to the centre, then do the same with the left side, right side, and finally the bottom edge. The result will be a square-shaped piece of dough. Next, lift one corner up and over inwards towards the centre. Repeat with the other three corners. Once all four corners have been folded, gently flip the dough over from the top so the smooth side is facing up and the folds are underneath. Using your dough scraper, tuck in the edges, as you did in the pre-shaping, to ensure a taut surface. Handle with care throughout the process in order not to knock out any air from your dough. Use your bench scraper to scoop underneath the dough and gently lower the dough into the proving basket, fold side up. Leave your dough on the counter in its proving vessel uncovered until basket proving is complete. Generally, proving should take 1½–2 hours, but maybe longer or shorter.
- Cover your dough with some cling film or another loosely fitting cover and place it in the refrigerator for 12–24 hours before moving on to the next stage. This is known as retard, or “cold proving”.
- There is more than one way to bake your loaf. I prefer to use fire bricks/pizza stone. Preheat your oven with fire bricks or a pizza stone on a low shelf to the highest temperature the oven will go. Let the oven and stones heat up for at least an hour before baking.
- When the oven and bricks are hot, remove the dough from the fridge and gently turn it over onto a floured bread peel/pizza peel and lift off the proving basket. Using a baker’s lame, score the top to control expansion, then slide the dough onto the bricks. Bake for 20 minutes at 240ºC/465ºF. Adding steam to the oven will drastically improve results.
- Vent the oven and remove any steam-producing tools from the oven. Use the bread peel to turn your loaf around in the oven and reduce the temperature to 220ºC/435ºF for a further 20–25 minutes.
- Once the bread has finished cooking, use the bread peel to remove the bread from the oven and leave it to cool on a cooling rack.