There’s nothing more satisfying than a delicious pie in perfectly cooked pastry. I adore a good pie. In fact, arguably my favourite dessert has got to be Lemon Meringue Pie—apart from when nothing but chocolate will do.
To make all sorts of superb pies or tarts, one must start by lining a tart tin. It may seem a little challenging to lift the pastry into the tin, but it’s really simple when you know how. Below, I will outline how to line a tart tin in 4 simple steps. The ideal tart tin to use is metal and has a removable bottom. The metal tends to make the pastry cook better, and the removable bottom allows you to simply press up on the base to remove the tart from the tin.
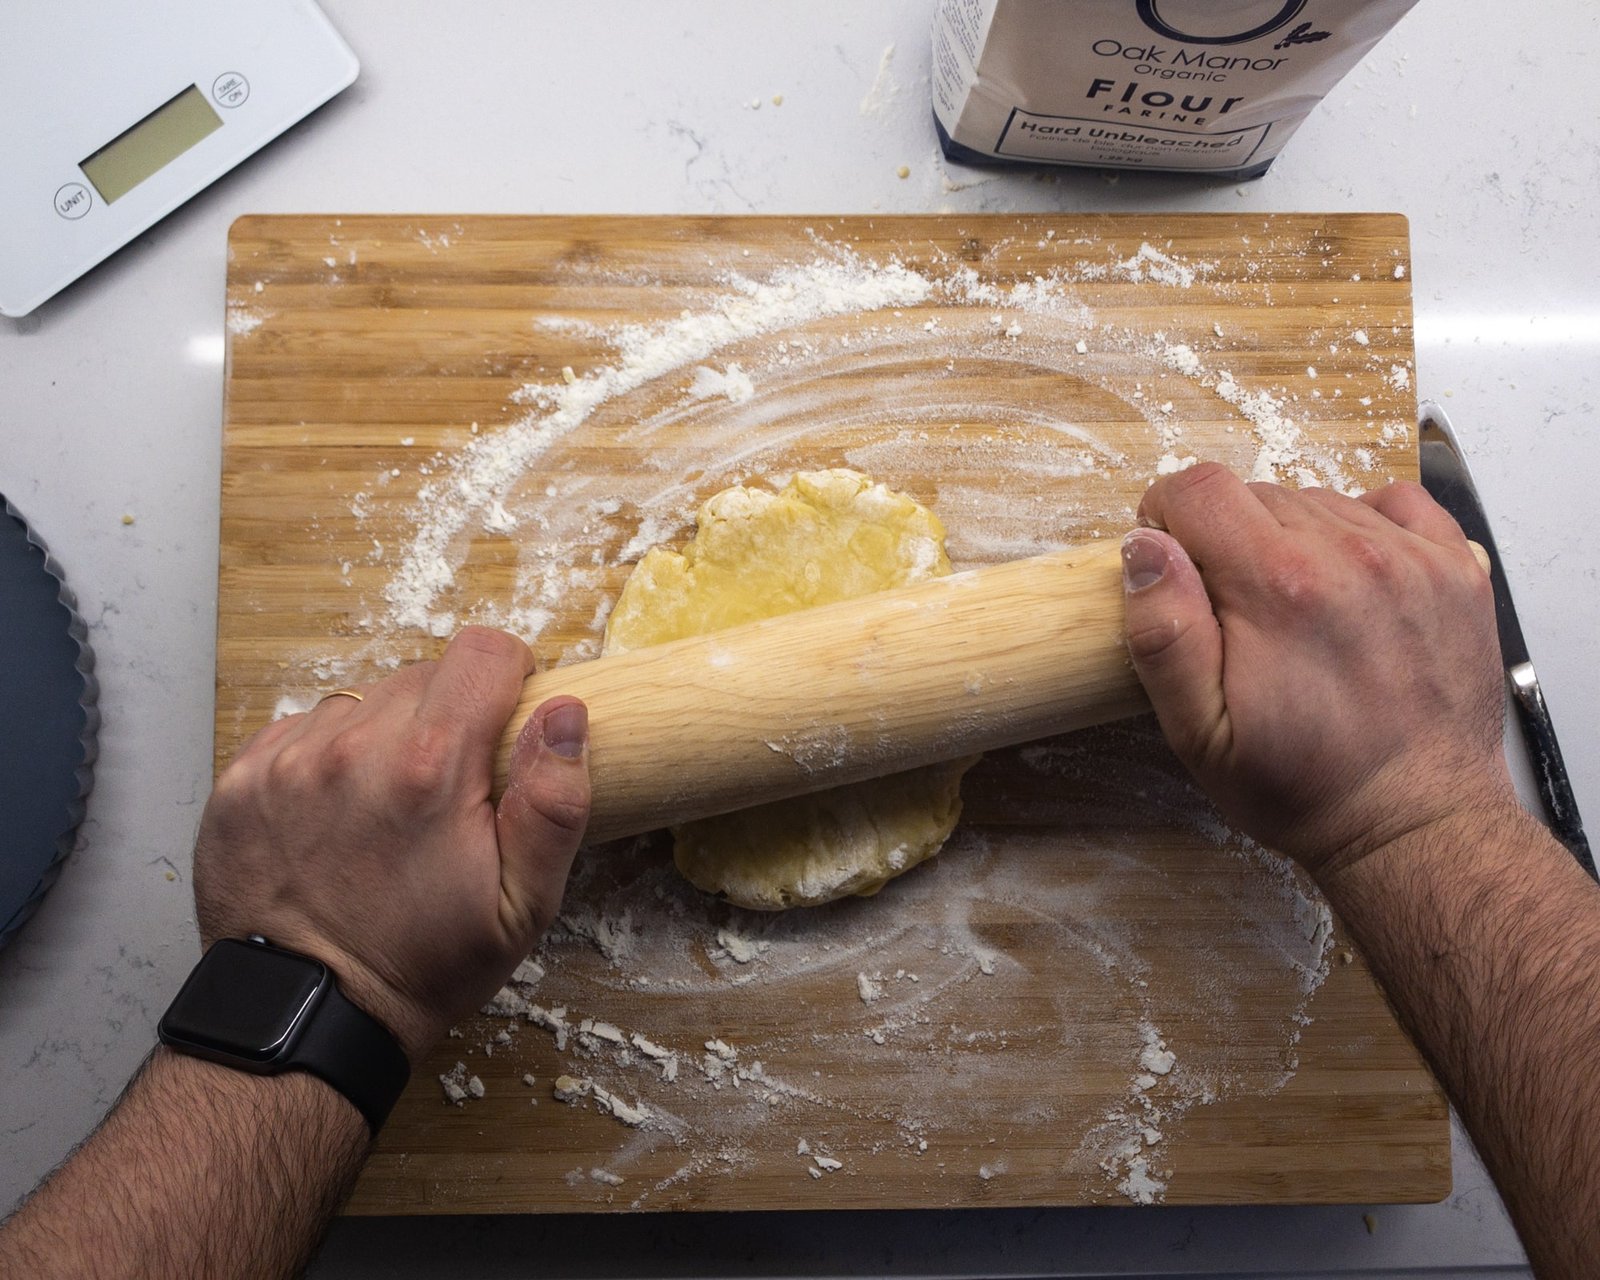
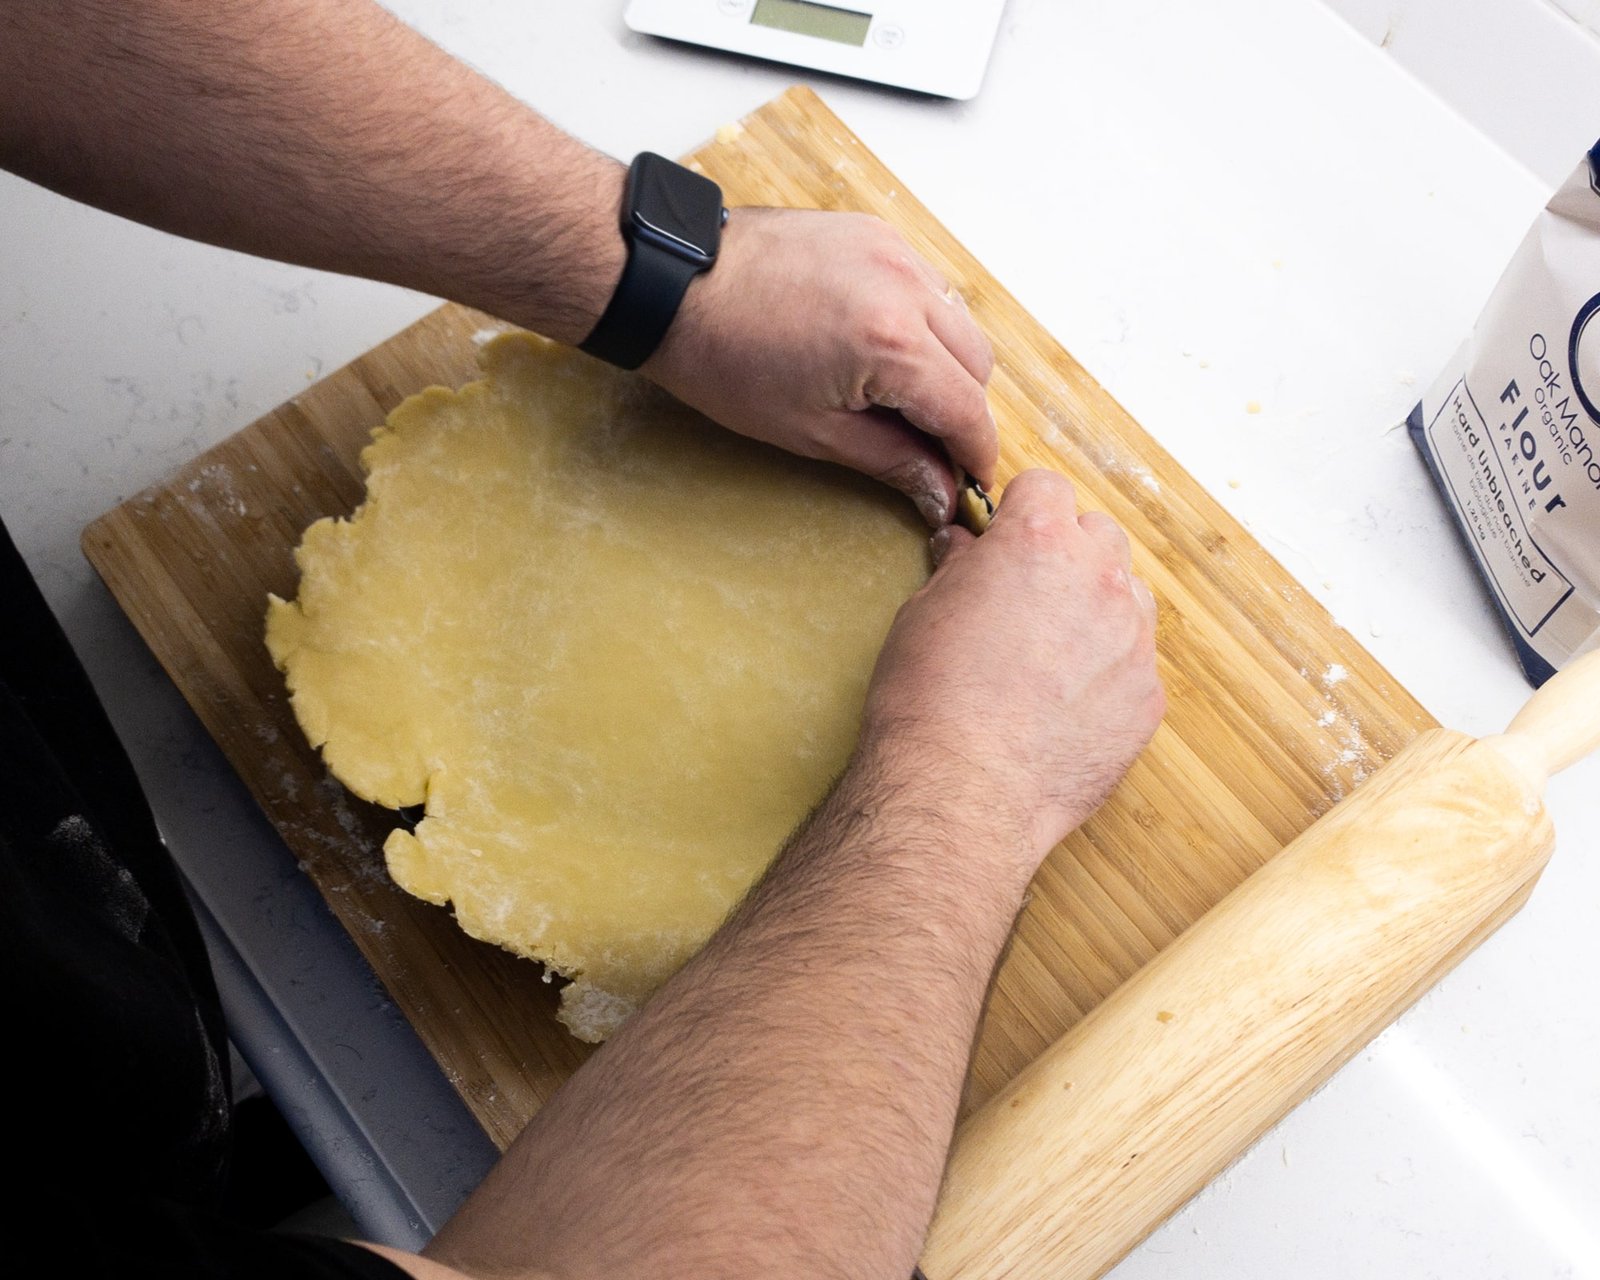
1. Roll out the pastry
Roll out the pastry with a rolling pin on a cool, lightly floured surface. You want to aim to roll it into a circle that is about an inch or so larger than the tart tin you’re using.
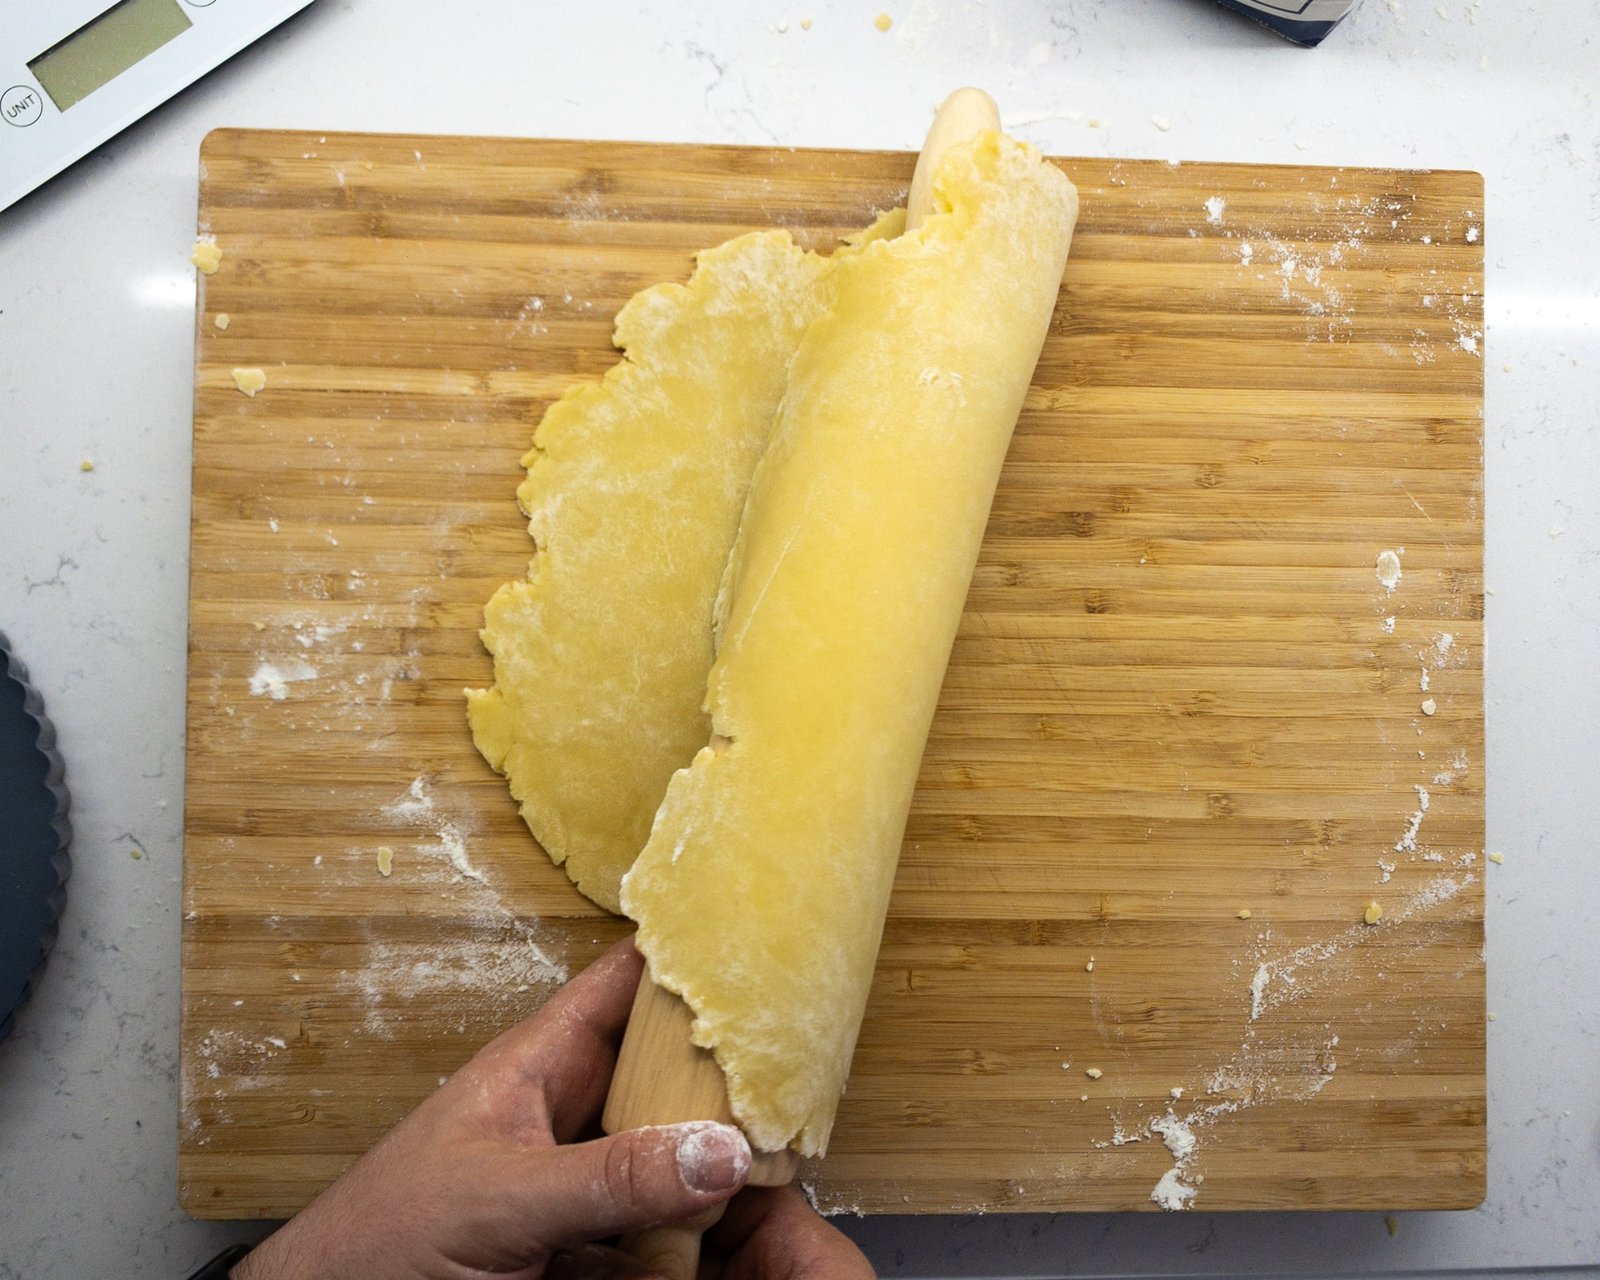
2. Lift the pastry
Flip the pastry over the rolling pin and lift the pastry into your tin.
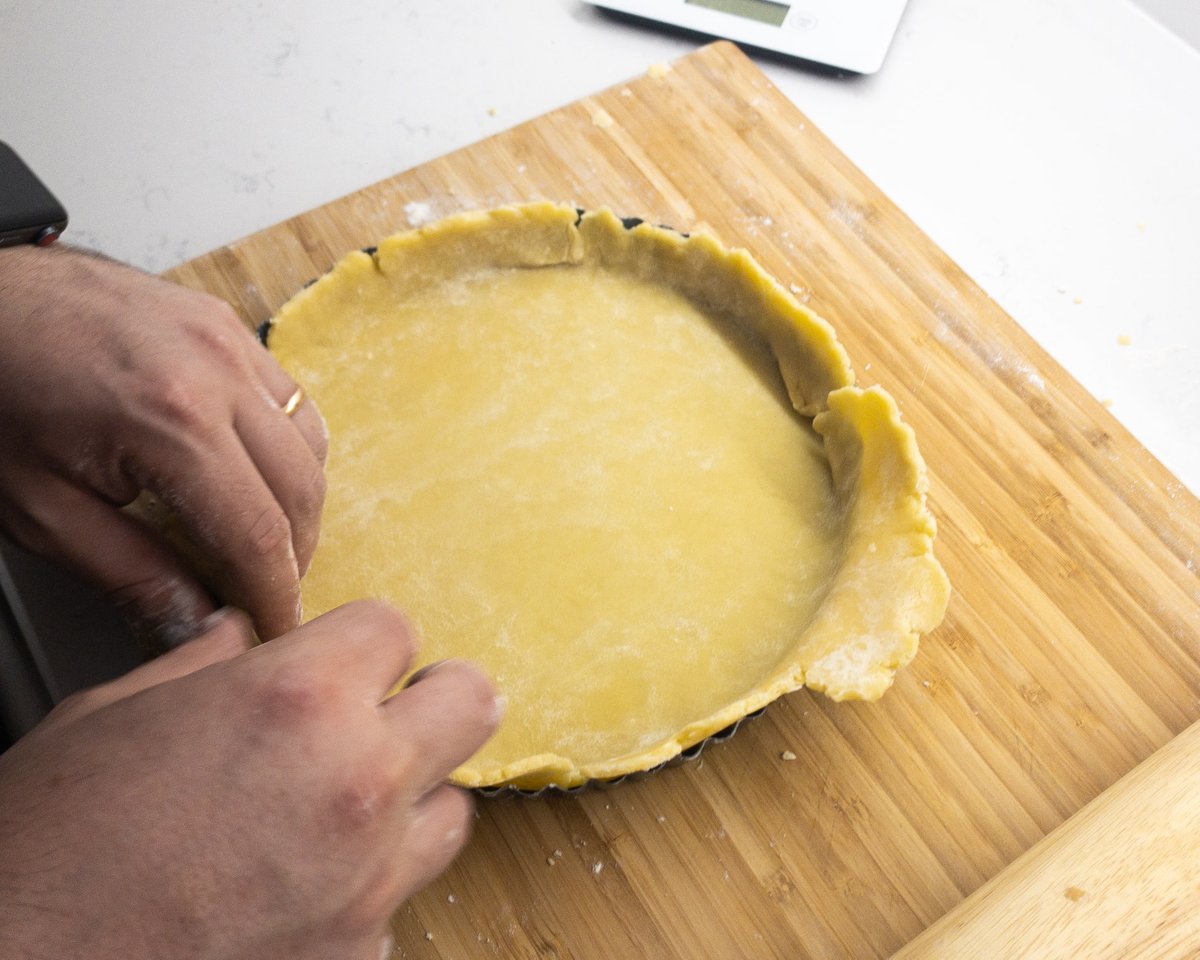
3. Press down
Gently press the pastry flat across the base of the tin and up at the sides.

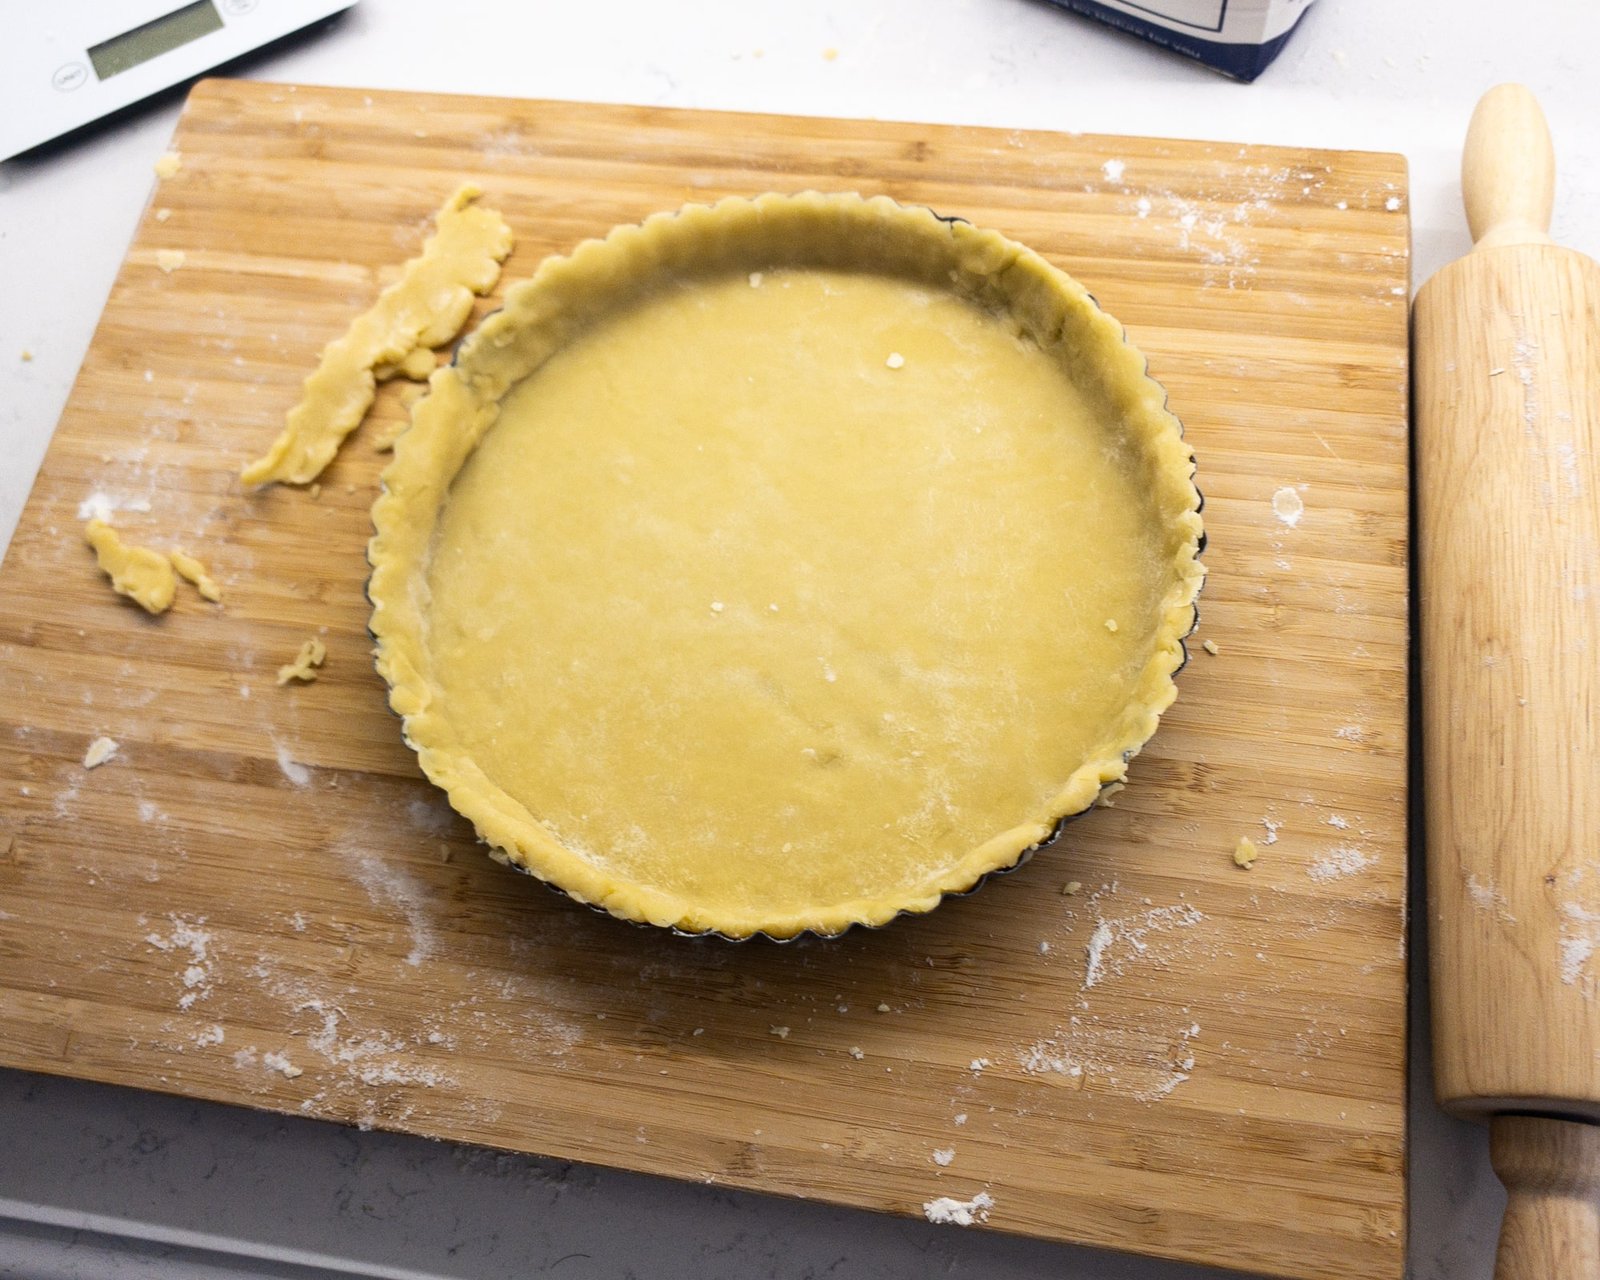
4. Trim excess
To cut off any excess pastry, roll the rolling pin all around the top edge of the tin. Now you can fill your pastry with your preferred pie filling.